In my last post on steps I have taken to be productive when working from home, I mentioned a pen-and-paper-based system that I have been using for the past many months to manage my work. In this post, I will walk you through that, hoping it will make your work life a little easier!
But Wait! Why Don’t You Just Use An App For Task Management?
I get it if you have this question screaming in your head right now! Well, I did. I tried many apps and online tools – Google Tasks, Asana, Todoist, etc. But there were a couple of strong reasons why they didn’t work for me:
- none of the apps had all the features that I wanted. Due to this, I kept moving from one app to the other, and soon the focus shifted from organizing my day to finding the best app that could help me do that
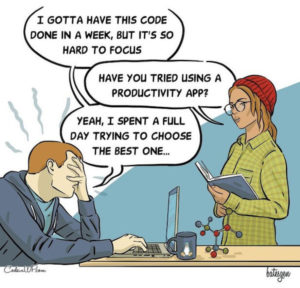
- while it is convenient to have an app for adding tasks as you almost always have your phone on you, that’s what I wanted to avoid. We already spend so much time on our phones, I didn’t want to add yet another reason to take out my phone
The Pen & Paper Method Of Planning The Day
The approach that I use is a mix of various online and offline task systems that I have read or followed in the past. My approach is influenced by Jira, ToDoist, Bullet Journal, and GTD, and probably contains a mix of all, minus some complexities. So, without further ado, here is how I plan my day.

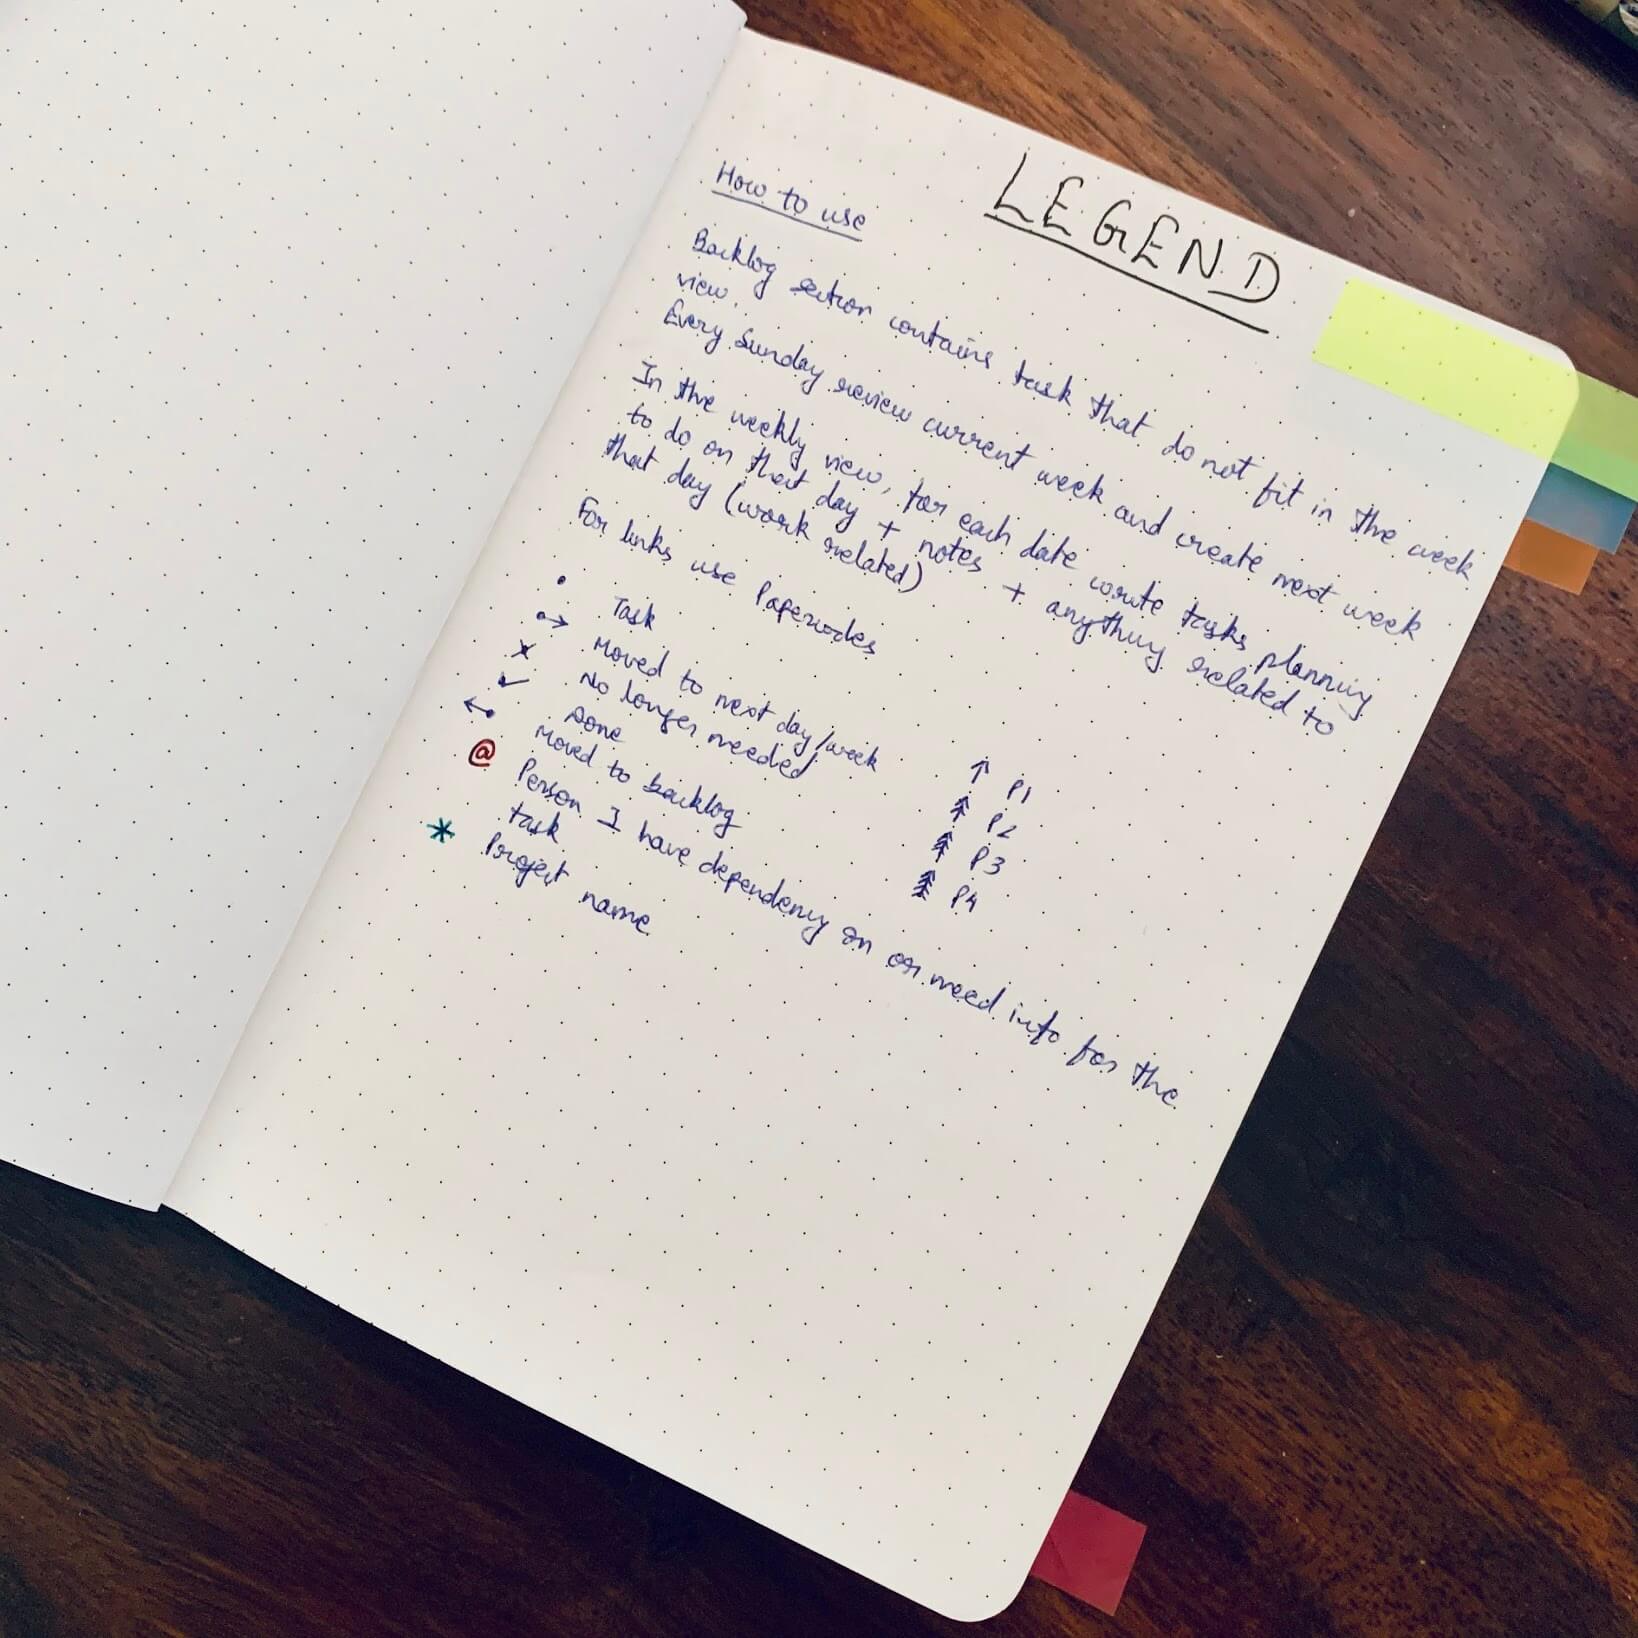
Section 1: Legend
The first section in my notebook is the Legend page. This page captures the guidelines that I want to follow while planning the day. This ensures uniformity and eventually, you will be in a place where you won’t need to refer to the legend.
I keep 1 page for legend.
Section 2: Meeting Agenda
Next, I have a section called Meeting Agenda. Here I capture agenda items for 1:1s with my manager & and for team meetings. During the week if something comes to mind that I want to discuss with my manager or bring in the team meeting, I add it here along with the date, so that I don’t forget it during the meeting. Once it has been addressed I tick it off the list.
I keep 5 pages for this section, you can increase or decrease as per your requirement.
Section 3: Backlog
The third section is called Backlog. I will explain this in the next section.
I keep 10 pages for this section.
Section 4: Task List
The last section in the notebook is my Task List. Let’s spend some time here.
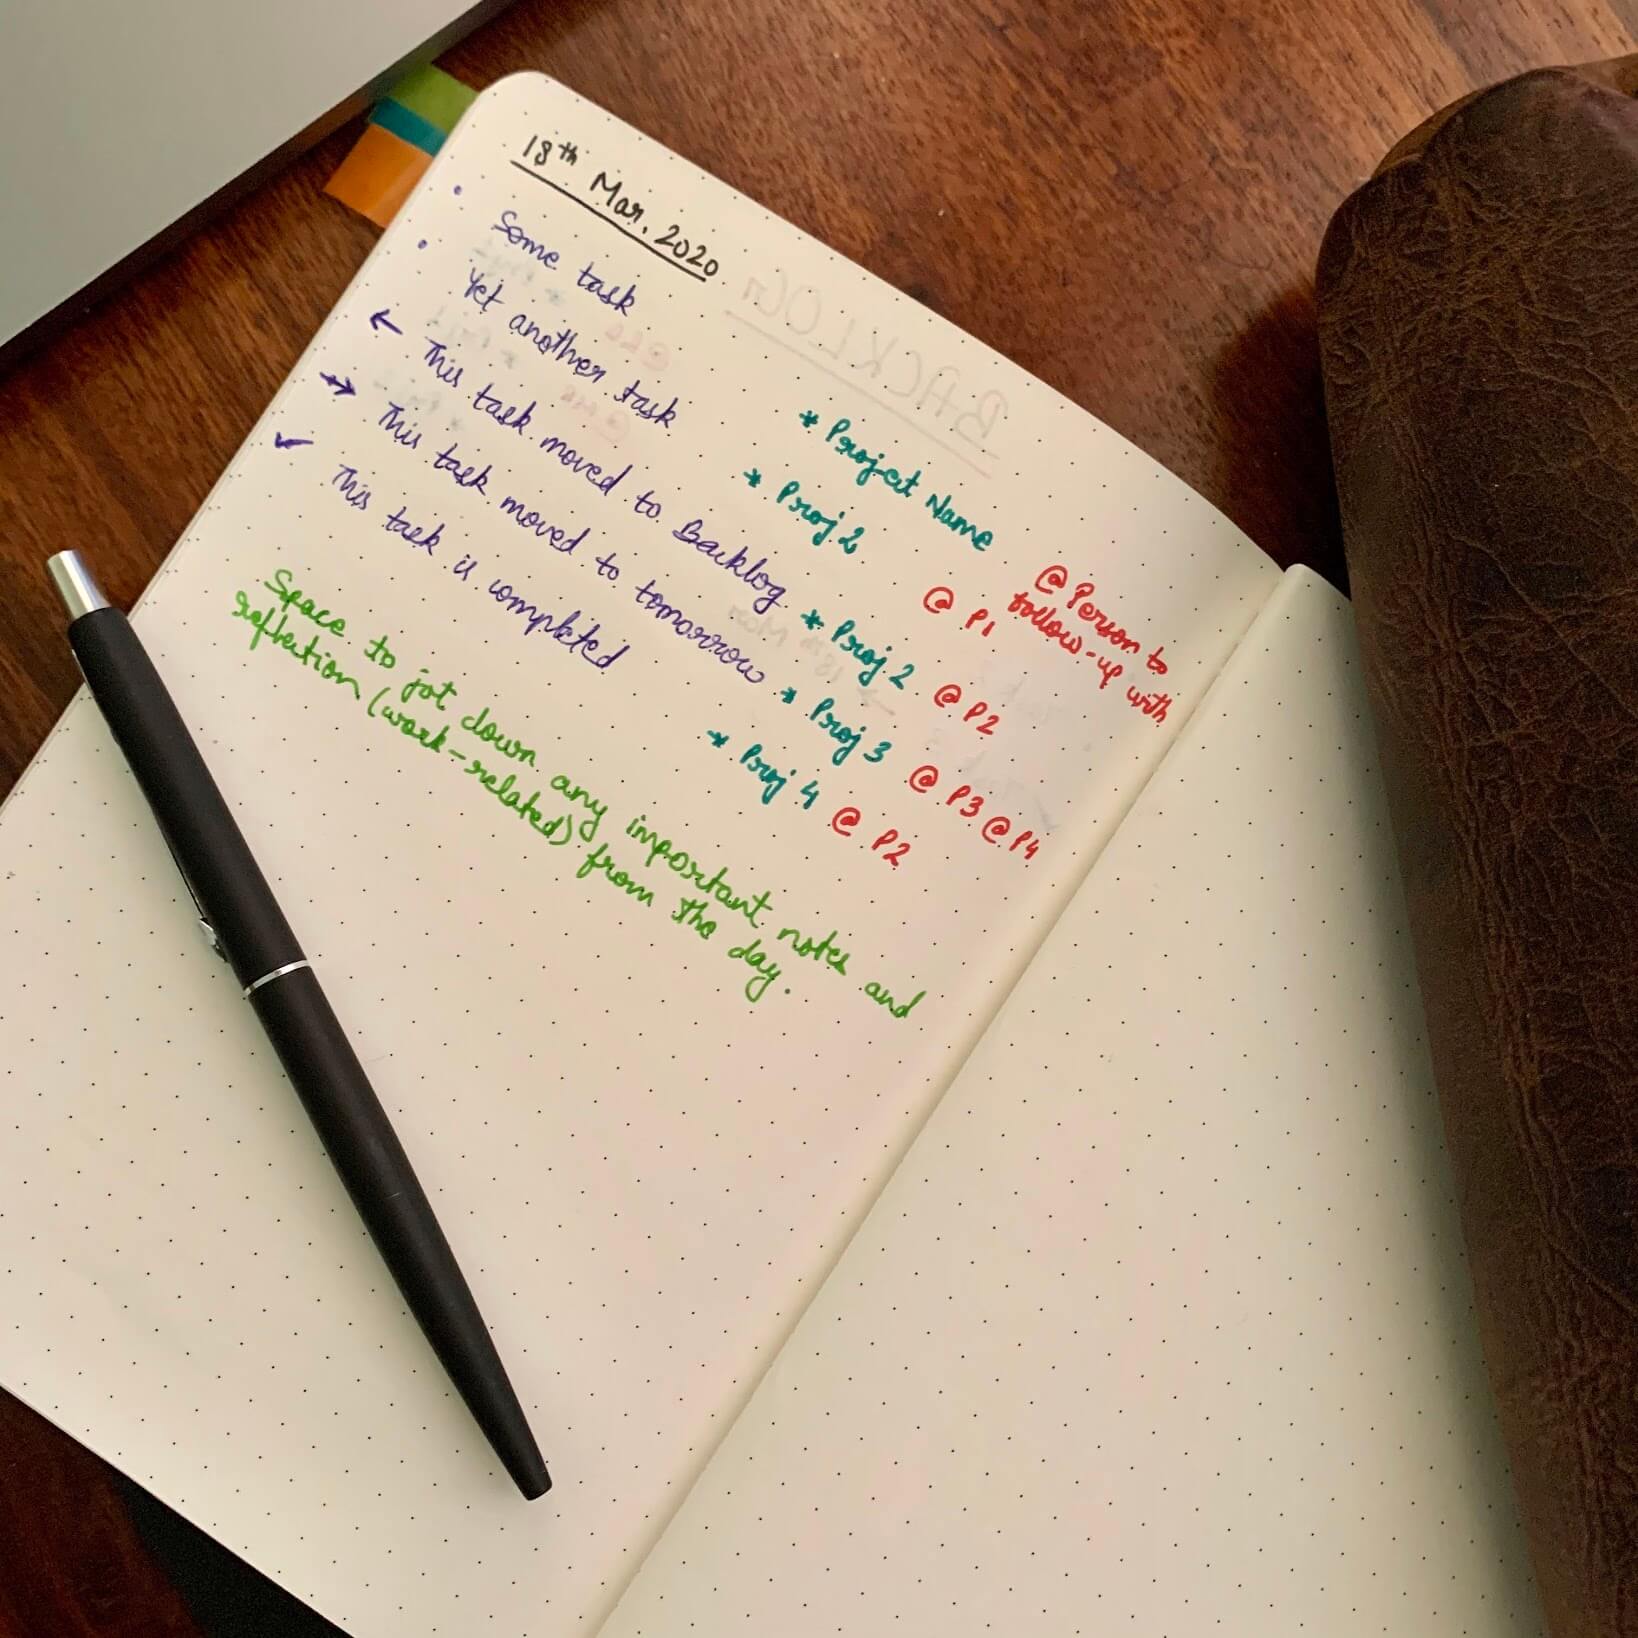
Every morning before I start work, I go through my emails and add all the tasks for that day here, like this:
- Task
A task can be anything – an action item, a follow-up, scheduling a meeting, writing a document, reviewing a piece of code, etc. However, I don’t add meetings that I have to attend as tasks.
If the task is linked to a project I add the project name next to it as *proj_name
- Task *proj_name_initials
If I need to follow up with someone on this action item, that gets added as @initials_of_the_person next to the action item.
- Task *proj_name_initials @initials_of_the_person
If a task doesn’t need to be completed on that day, I add it to the backlog.
At the end of the day, I go through this list and take one of the following actions:
- Change the bullet to a forward-pointing arrow for tasks that have to be moved to the next day
- Change the bullet to a backward-pointing arrow for tasks that are not required to be completed anytime soon and add that task to the Backlog section
- Change the bullet to a tick for tasks that have been completed
- Change the bullet to a cross for tasks that are no longer required to be completed
I also add any important notes or reflections from the day at the end of the task list.
The next day, when I repeat this exercise, I do the following:
- Scan through the Backlog to see if anything from there needs to be added to the task list. If I add something from the Backlog to the Task List for the day, I change the bullet to a tick-mark and mention the date, so that in the future when I scan the Backlog I do not pick the same task again, and I know which date to refer to check the status of that task

- Check the Task List from the previous day and move any tasks marked with a forward-pointing arrow to the current day’s task list
- Check emails to add tasks from there
And the process continues…
A Few Suggestions If You Plan To Follow Pen & Paper Approach
- Add index tabs at the beginning of each section to quickly navigate to that section
- Use a small notebook so that you can carry it easily with you
- Use a notebook with good-quality pages, so that you enjoy writing on it. I use the Thought Slots B6 notebook, which I purchased from Amazon.
- Use different colors for task, project_initial and person_initial, so that you can easily look for tasks by person or project. I use blue ink for tasks, green for project_initial, and red for person_initial
I hope this will help you plan your work better. Do let me know if you try this approach. If you have a different approach to managing your tasks, please share it using the comment form below, I’d love to read that.
 Subscribe
I write on various topics such as productivity, tech, books, personal finance, and more. To stay updated, choose either (or both) of the options below:
Get Real-Time Alerts
Stay in the loop with real-time alerts. Join my WhatsApp channel for instant notifications on new articles, captivating book snippets, noteworthy web finds, and more. Experience it as it happens.
Monthly Email Digest
Prefer a monthly roundup? Subscribe to the Email Newsletter to receive a neatly organized digest at the end of each month. Explore everything I wrote, handpicked web gems, and more – delivered to your inbox in a well-packaged newsletter format.
Photo Credit:
- Feature Image: Photo credit: “Research.” Neil Conway.Creative Commons.